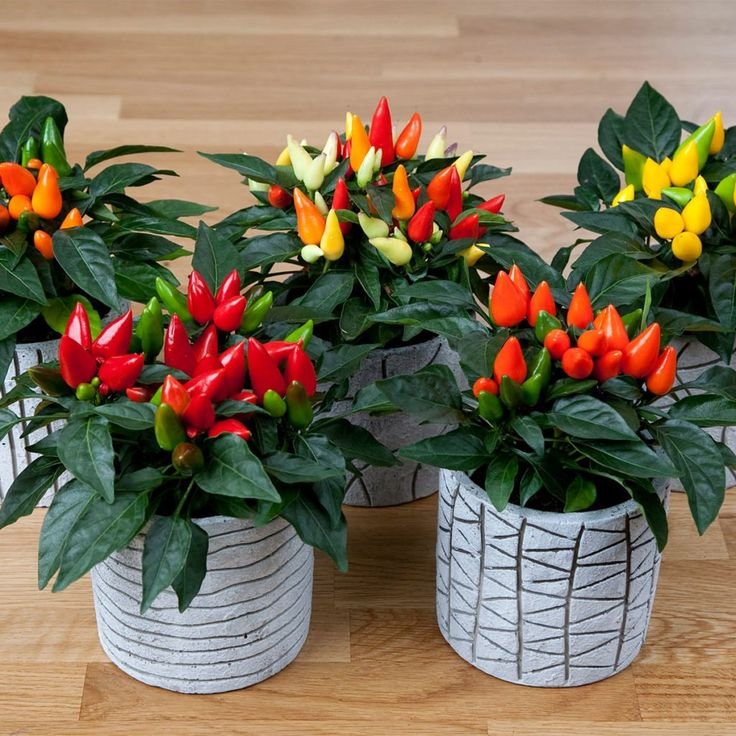
Starting a container garden is a great way to bring nature into the smallest of spaces. Whether you have a balcony, a porch or just a sunny window, you can grow herbs, flowers and even veggies with minimal space. Container gardens are popular for their flexibility, accessibility and the freedom to try new plants. In this guide we’ll go through how to start your container garden from scratch, covering the basics, materials and techniques to get you growing in no time. With the right techniques and a bit of love your container garden will thrive and add some green to your home.
The best thing about container gardening is it’s for everyone. You don’t need acres of land, just a few pots and a want to grow. In fact container gardening is perfect for beginners. Container gardens are easy to manage, you can control the soil, water and sun to suit each plant’s needs. By the end of this guide you’ll know all the basics and more to create a lush and thriving container garden that brings you joy, color and fresh ingredients into your life.
In this guide, we’ll cover everything you need to know about starting your own container garden. By the end, you’ll be equipped to create a garden that adds beauty, freshness, and even sustenance to your home.
The Benefits of Container Gardening
Why choose a container garden over traditional garden beds? There are several compelling benefits, especially for those with limited outdoor space:
- Accessibility: Containers can be placed almost anywhere, making it easy to garden in small spaces like patios, balconies, and rooftops.
- Control: You control the type of soil, water levels, and sunlight exposure, giving you the power to create optimal conditions for each plant.
- Pest Management: Containers allow for easier pest control since plants are isolated from ground soil, reducing the risk of certain soil-borne diseases.
- Seasonal Flexibility: With containers, you can easily switch out plants based on the season, keeping your garden fresh year-round.
- Design Potential: Containers are perfect for those who love to experiment with garden design. Mix and match styles, colors, and plant types to create a garden that reflects your unique taste.
Step 1: Choose the Right Containers

The right container can make or break your garden. Not only does it affect the appearance, but it also influences how your plants will grow. Here are some essential factors to keep in mind:
Material Options
- Plastic: Lightweight and affordable, plastic containers retain moisture well and are generally more resilient to weather changes.
- Terracotta: A classic choice, terracotta pots are porous, allowing air to reach roots but can dry out quickly, which is not suitable for water-loving plants.
- Wooden Planters: These offer excellent insulation and are perfect for rustic aesthetics. Be sure to choose rot-resistant wood or treated wood to guarantee longevity.
- Metal Containers: Durable and stylish, but they can heat up in the sun, potentially harming plant roots. Add a liner to protect plants if necessary.
- Ceramic or Glazed Pots: Often heavy, these containers are sturdy and hold moisture better than terracotta, making them a good choice for both indoors and outdoors.
- Fabric Grow Bags: Made from breathable, durable materials like fabric or felt, these fabric bags offer excellent aeration, prevent overwatering, and encourage healthy root development, making them ideal for container gardening.
Size Matters
Container size depends on what you plan to grow. Here’s a quick guide:
- Small Containers (up to 6 inches deep): Perfect for herbs, succulents, and small annuals.
- Medium Containers (8-12 inches deep): Ideal for greens like lettuce, small flowers, or herbs.
- Large Containers (12 inches deep or more): Suitable for bigger plants like tomatoes, peppers, or mixed flower arrangements.
Drainage
Proper drainage is essential. Choose containers with holes at the bottom, as stagnant water can lead to root rot. Adding a layer of small rocks or gravel at the base of the container helps improve drainage, but make sure water can still flow freely.
Step 2: Prepare the Right Soil

Soil is the foundation of any thriving garden. For container gardens, however, traditional garden soil is often too dense. Instead, you’ll want to use a potting mix specifically designed for containers.
Potting Mixes
Container soil should be lightweight and well-draining to prevent compacting. Quality potting mixes are your best bet, as they contain organic matter, perlite, or vermiculite to improve drainage and aeration. Avoid filling containers with soil directly from the garden, as it compacts over time and may contain pests.
Adding Nutrients
Since nutrients leach out faster in containers, adding organic compost or worm castings to your potting mix gives plants a nutrient boost. Other additives like bone meal or fish emulsion can also enrich the soil, ensuring plants get the nutrients they need to flourish.
Step 3: Selecting Plants for Your Container Garden
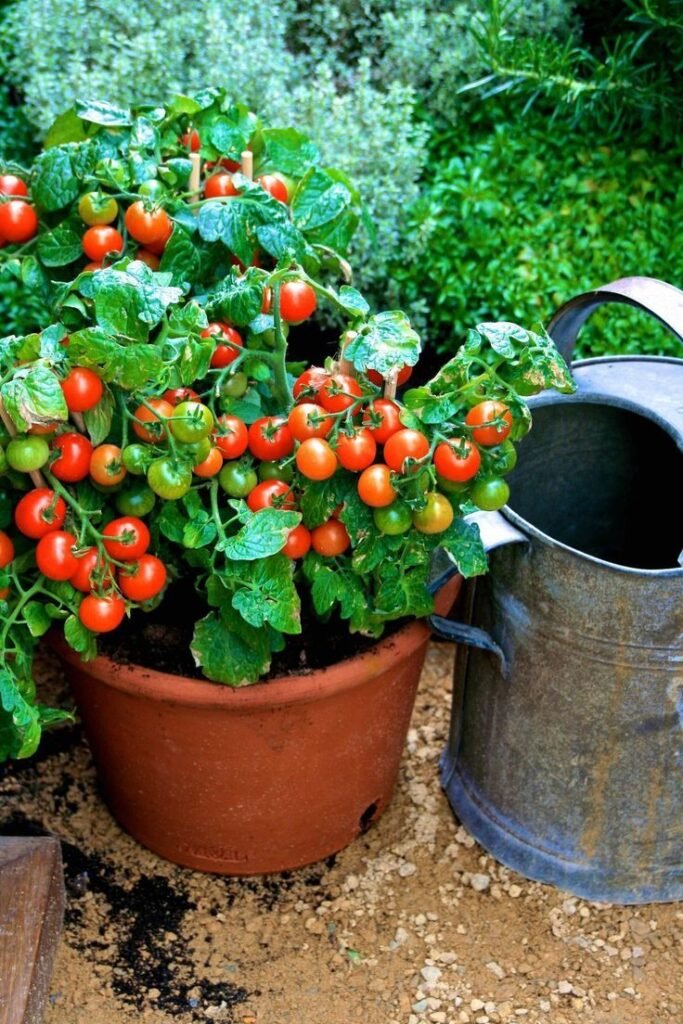
Choosing the right plants for your container garden is vital. Think about the location, sunlight, and climate before making your selections.
Choosing Based on Light Requirements
Different plants thrive under different lighting conditions, so choose plants that match your available sunlight:
- Full Sun: Tomatoes, peppers, rosemary, and marigolds thrive in full sunlight (6-8 hours daily).
- Partial Sun/Shade: Lettuce, spinach, parsley, and some flowers like impatiens do well with a mix of shade and sun (4-6 hours).
- Full Shade: Ferns, hostas, and ivy are good choices for shaded areas, requiring less direct sunlight.
Companion Planting
In a container garden, it’s essential to plant species with similar needs together. For instance, don’t pair drought-tolerant plants like succulents with moisture-loving herbs like basil. Grouping plants by their water and light requirements creates a balanced environment for healthy growth.
Step 4: Arranging and Designing Your Container Garden
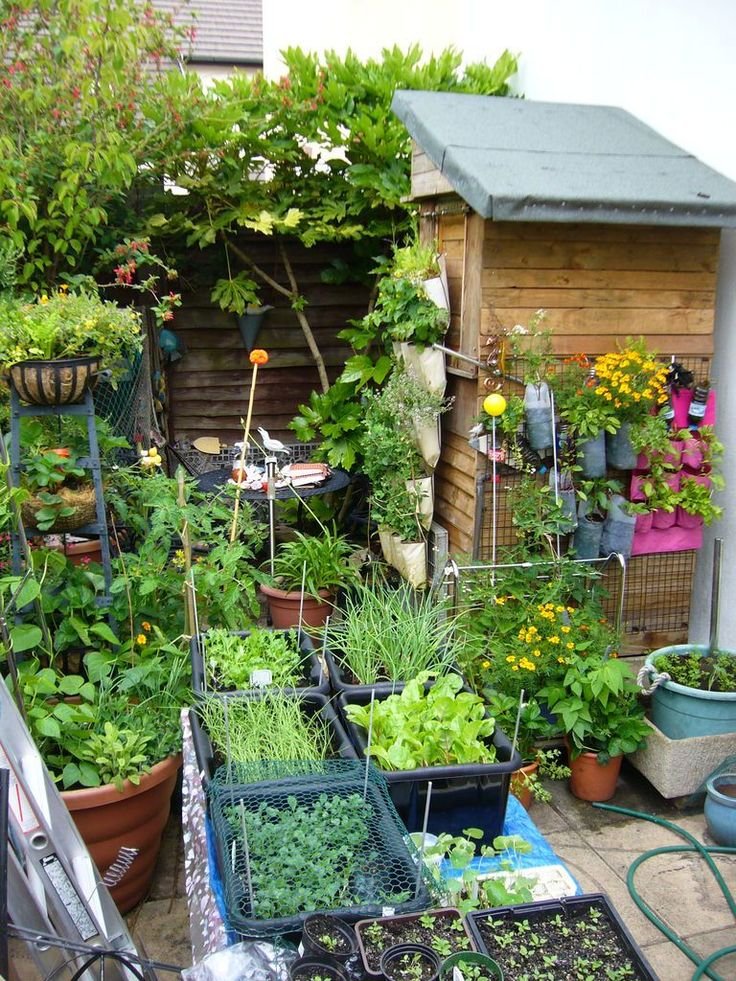
Designing your container garden adds a personal touch to the space. Here are some tips to make your garden both beautiful and functional:
Plan the Layout
Consider mixing and matching container sizes and heights. Taller containers with lush plants can serve as focal points, while smaller containers can add interest. Here are some popular design concepts:
- Thrillers, Fillers, and Spillers: Choose a “thriller” plant (like a tall grass or flowering plant) for height, “fillers” to create volume, and “spillers” to cascade over the pot’s edges.
- Grouping for Visual Impact: Grouping containers in odd numbers (three or five) creates a more visually appealing layout. This allows for texture and color variation.
Choosing Color and Style
If you’re aiming for a cohesive look, choose containers in colors that complement each other or coordinate with your decor. Neutral tones offer a classic look, while bright colors add a modern touch. Experiment with different container shapes and materials to create contrast.
Step 5: Watering and Fertilizing for Success
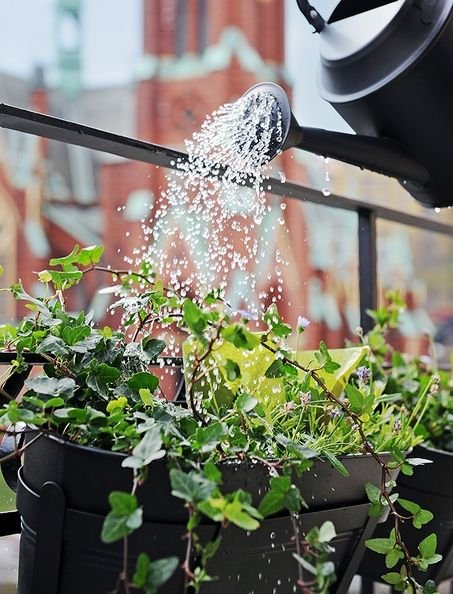
Consistency is key when it comes to watering container gardens. Here are the essential practices to follow:
How Often to Water
Containers dry out faster than garden soil, especially in hot weather. Most containers need daily watering in the summer, although frequency will vary depending on container size, material, and plant type. Test the soil with your finger to check moisture levels; if it feels dry an inch below the surface, it’s time to water.
Fertilizing Your Container Garden
Plants in containers rely on you for nutrients, so regular fertilizing is crucial:
- Liquid Fertilizers: These can be applied every two weeks and are ideal for a quick nutrient boost.
- Slow-Release Fertilizers: Mixed into the soil at planting, these gradually provide nutrients over time, perfect for gardeners who may forget regular fertilizing.
- Organic Options: Compost tea, fish emulsion, or worm castings are great organic choices, adding beneficial nutrients without chemicals.
Step 6: Managing Pests and Diseases in a Container Garden

Although container gardens often face fewer pests, plants are still susceptible to common issues.
Common Container Garden Pests
- Aphids: Small, green insects that can weaken plants. Wash them off with a strong stream of water or spray plants with insecticidal soap.
- Spider Mites: These tiny pests leave fine webbing. Regular misting and neem oil help keep them in check.
- Slugs and Snails: Slugs are particularly problematic in damp conditions. Use copper tape around containers to deter them.
Disease Prevention Tips
- Prevent Overwatering: Overwatering can lead to root rot and other fungal issues. Let the top layer of soil dry between waterings.
- Clean Containers Regularly: Before reusing pots, scrub them with soapy water and let them dry in the sun to eliminate pathogens.
Step 7: Transitioning Your Garden Seasonally

Container gardens offer the unique advantage of being mobile and versatile, making it easy to switch plants seasonally. By changing out plants, you can enjoy a vibrant garden all year.
Spring and Summer
These seasons are ideal for flowering plants, herbs, and warm-weather vegetables. Experiment with colorful flowers like petunias, marigolds, and daisies, or grow veggies like tomatoes, peppers, and beans.
Fall and Winter
As temperatures cool, switch to hardy plants. Kale, pansies, and ornamental grasses add color and texture to your container garden during the colder months. In regions with mild winters, herbs like rosemary and thyme can stay outdoors year-round.
Step 8: Adding Personal Touches to Your Container Garden
Adding decorative elements to your garden personalizes the space. Here are some creative ideas:
- DIY Painted Pots: Customize plain pots with outdoor paint for a unique, hand-crafted look.
- Plant Labels: Use chalkboard markers or ceramic tags to label each plant, adding both function and style.
- Ornaments: Miniature garden statues or decorative stones can add charm, making your garden feel more inviting.
Step 9: Long-Term Maintenance for a Thriving Container Garden
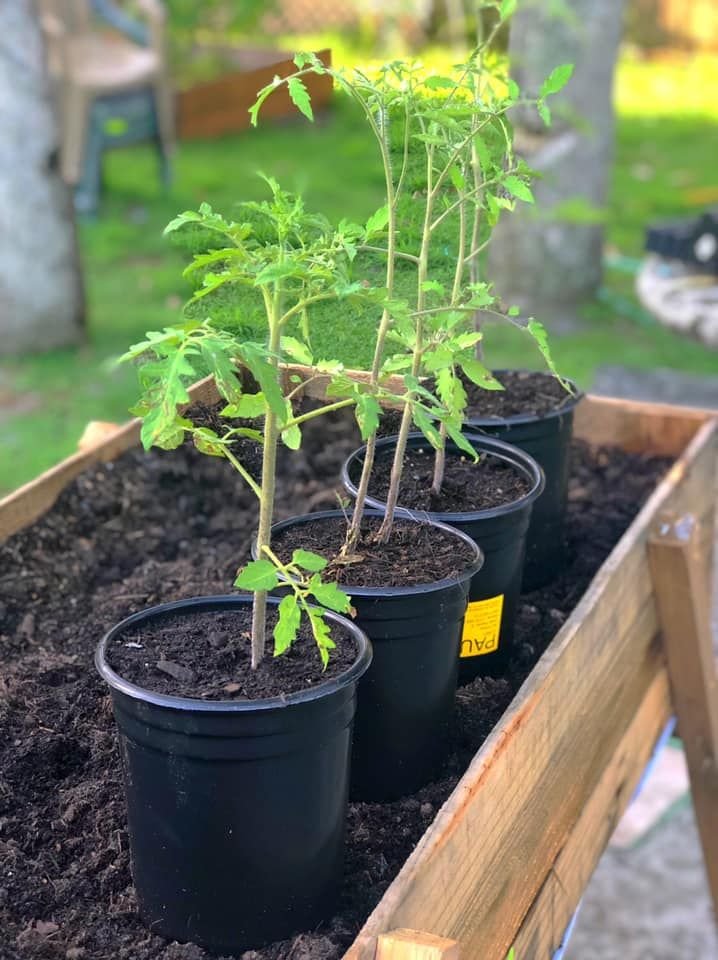
With proper care, your container garden can thrive for years. Long-term maintenance involves pruning, refreshing soil, and adjusting plant placements as they grow.
Pruning for Health and Shape
Regular pruning encourages healthy growth. Remove dead leaves, spent flowers, and any yellowing foliage. This keeps plants tidy and redirects energy to new growth.
Refreshing the Soil
Over time, soil loses nutrients. Refreshing the soil once a year helps keep your plants healthy. Replacing the top layer of soil and adding fresh compost or organic matter enriches it, setting up your plants for success.
Regular Repotting
As plants grow, some may outgrow their containers. Repot plants every one to two years to ensure they have enough space to thrive. This is especially important for perennials and plants with extensive root systems.
Creating a container garden is an enjoyable, rewarding project that brings life and beauty to any space. With the right combination of plants, containers, and care, your garden will flourish, providing you with fresh herbs, colorful blooms, and a calming green space. Whether you’re a beginner or an experienced gardener, these steps can help you cultivate a container garden that thrives season after season.
